
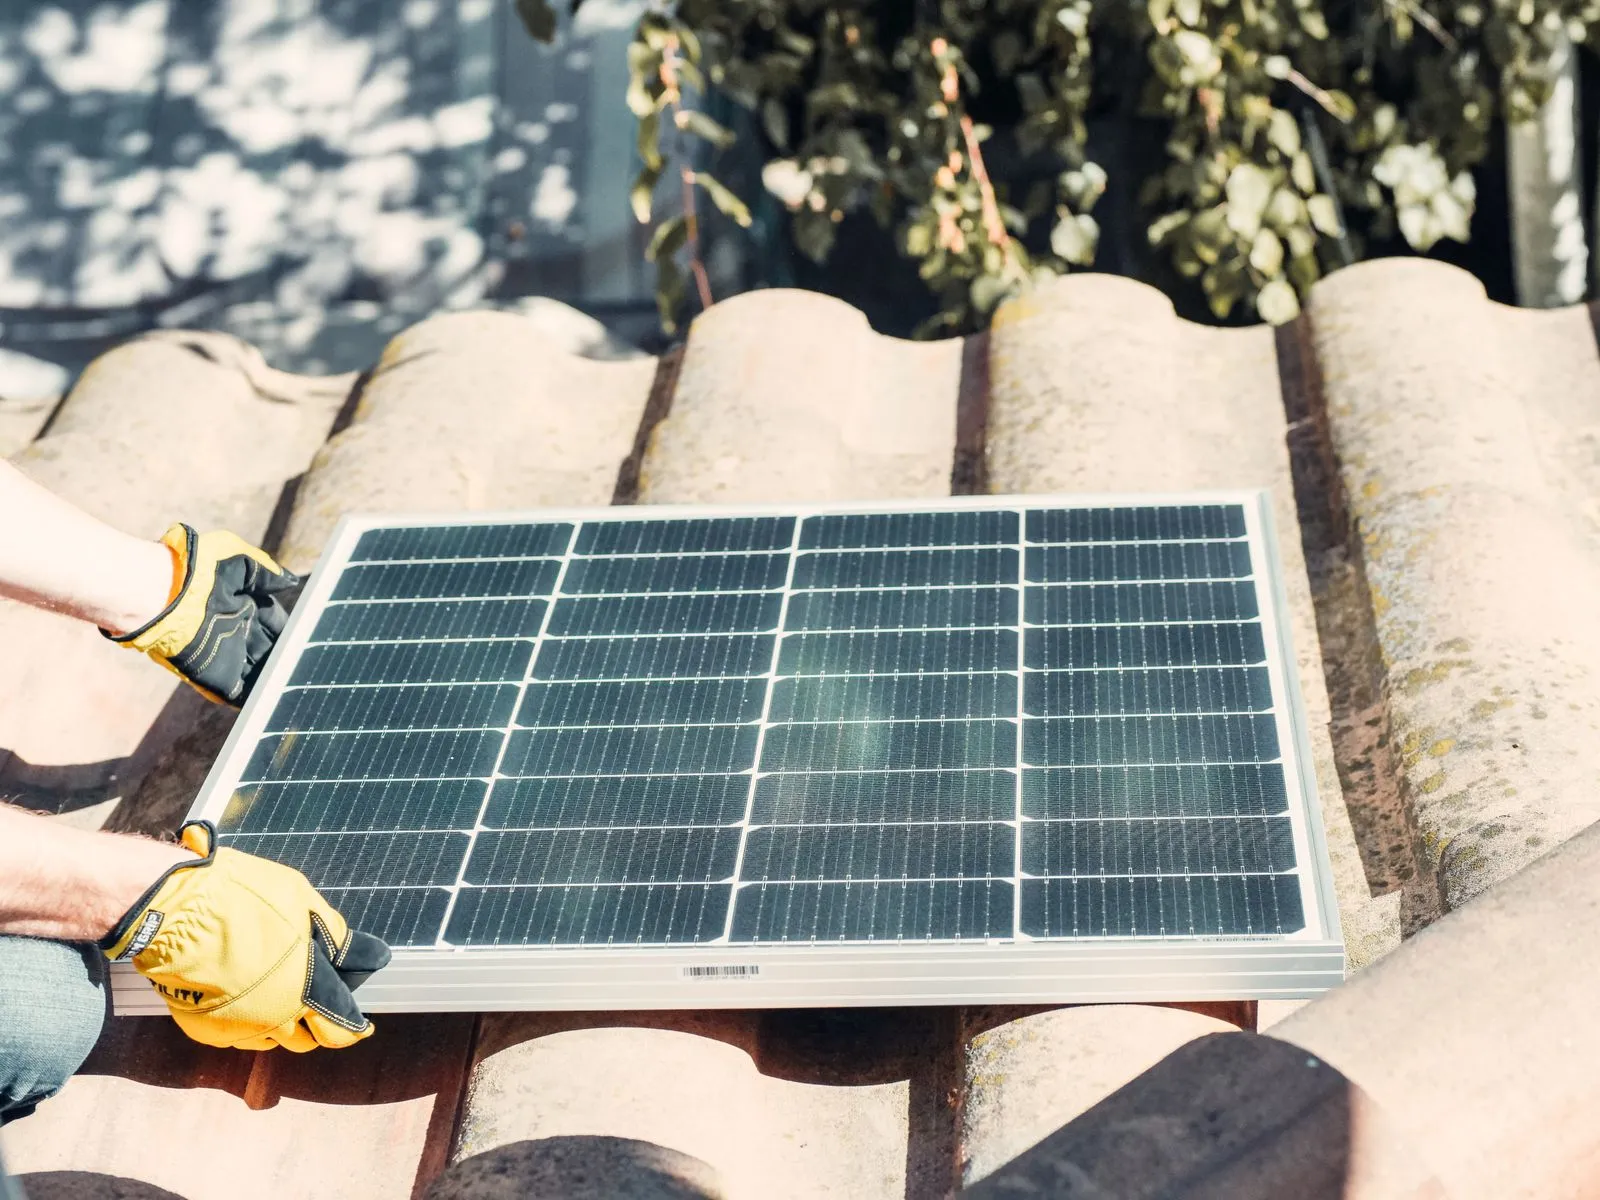
A solar installation involves more than attaching panels to a roof. Your installer needs to review the property, plan the equipment layout, coordinate required approvals, and confirm the system works safely before it begins producing power. Knowing what happens at each stage helps you prepare your home and ask useful questions. The exact timeline and sequence can vary with your roof, electrical setup, weather, and local requirements, but most projects follow a similar path from planning to final checks.
Plan the Project
Before work begins, the installer assesses your roof, electrical panel, and available space. They may review your electricity use and check roof orientation, shading, condition, and access. Share any plans for roof repairs or renovations early; completing those first can prevent panels from needing to be removed later.
The design should show the proposed panel layout, equipment locations, and how the system connects to your home's electrical service. Ask who will handle permits, utility paperwork, inspections, and any required approvals. Confirm what preparation is expected from you, how the crew will access the property, and how the installer will communicate schedule changes.
Prepare the Equipment
A typical system includes solar panels, mounting hardware, wiring, and an inverter that converts the panels' electricity into a form your home can use. Depending on the design, it may also include a battery, monitoring equipment, or additional electrical components. Your installer should explain which items are included and where they will be placed.
On installation day, the crew brings equipment and safety gear to the site. Make a clear path to the work area and electrical panel, and move vehicles if the crew needs driveway or roof access. Keep children and pets away from active work zones. If you have specific access or parking instructions, share them before the crew arrives.
Install Panels and Wiring
The crew typically marks the panel layout, installs roof attachments, and secures mounting rails before placing the panels. Installers should follow the approved design and use appropriate methods to protect the roof. Ask how the crew will manage tools and materials, and tell them about any roof concerns you noticed during the planning visit.
After mounting the panels, electricians connect the system wiring and install or connect the inverter and other equipment. Work may also involve your electrical panel, so power interruptions can occur. Ask in advance whether you should expect an outage and what areas of the home could be affected. Weather, roof conditions, and unexpected electrical issues may change the work schedule.
Check, Inspect, and Activate
Before the system is turned on, the installer checks connections, equipment, and safety features. Required inspections and utility approval may also need to happen before the system can operate. Panel installation does not always mean immediate activation, so ask which steps remain and who will arrange them.
At handoff, request a walkthrough of the inverter, monitoring app, shutdown procedure, and any battery controls. Make sure you know how to spot an error message and whom to contact for support. Keep copies of the system layout, equipment details, permits, inspection records, and warranties with your home documents.
A smooth installation starts with a clear plan and ends with a tested system you know how to use. Confirm responsibilities, access needs, approval steps, and support contacts before work begins. For help understanding the process at your property, contact Toronto Solar Works to discuss your project.